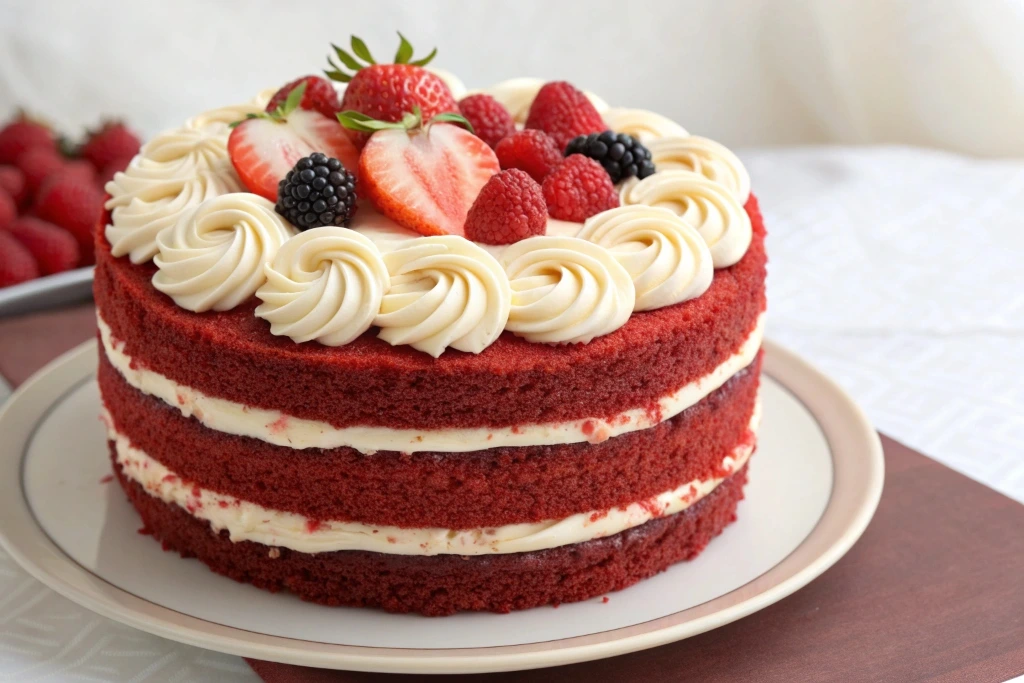
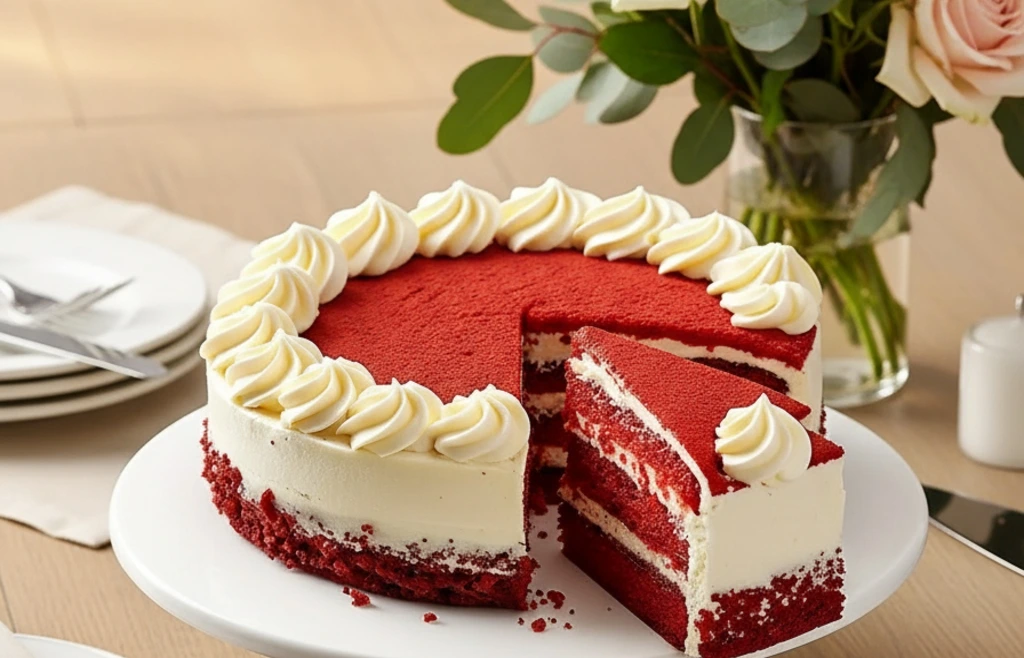
There’s something irresistibly enchanting about a freshly baked Red Velvet Cake—its deep scarlet hue, tender crumb, and luxurious Cream Cheese Frosting make it a dessert that never fails to impress. It’s not just a cake; it’s a statement piece, the kind that instantly elevates birthdays, holidays, and even casual Sunday gatherings into memorable celebrations.
What truly makes this Red Velvet Cake shine is the perfect harmony between subtle cocoa notes and the tang of buttermilk, all wrapped up in a silky Cream Cheese Frosting that melts on the tongue. It’s moist, it’s rich, and it feels like a labor of love—yet surprisingly simple to make from scratch. Get ready to fall in love at first bite!
Reasons to Love the Recipe
Irresistibly Moist Texture: Thanks to the buttermilk and the perfect balance of ingredients, this Red Velvet Cake turns out unbelievably soft and tender. Each bite practically melts in your mouth, offering that luxurious bakery-quality finish without leaving home.
Showstopping Appearance: Who can resist a cake with such a bold crimson hue and creamy white layers of Cream Cheese Frosting? It’s visually stunning and effortlessly becomes the centerpiece of any dessert table.
Simple Yet Sophisticated: Don’t let its beauty fool you—this Red Velvet Cake is surprisingly simple to prepare. Even if you’re a beginner, you’ll pull off a cake that looks (and tastes) like it came from a high-end bakery.
I still remember the first time I baked this Red Velvet Cake for my sister’s birthday—it disappeared before I could even snap a photo. That’s the kind of dessert that sparks joy and brings everyone together!
Ingredients
- 2½ cups all-purpose flour: Provides structure while keeping the crumb light and fluffy. Sift it for the best texture.
- 1½ cups granulated sugar: Adds the perfect sweetness and enhances the cake’s moistness.
- 1 teaspoon unsweetened cocoa powder: A hint of cocoa deepens the flavor and complements the tangy buttermilk.
- 1 cup buttermilk: Gives the cake its signature tang and tender crumb. If you don’t have it, mix milk with a splash of vinegar as a quick fix.
- 2 large eggs: Bind everything together and add richness to the batter.
- 2 tablespoons red food coloring: The key to that striking red hue—use gel food color for a deeper tone.
- 1 cup unsalted butter, softened: Adds creaminess and flavor; make sure it’s at room temperature for easy mixing.
- 18 ounces cream cheese, softened: The base of the dreamy Cream Cheese Frosting; rich and slightly tangy.
- 5 cups powdered sugar: Sweetens and stabilizes the frosting, giving it a silky, cloud-like texture.
- 2 teaspoons vanilla extract: Balances flavors and adds a comforting aroma.
Substitutions
• Buttermilk: Swap with 1 cup whole milk mixed with 1 tablespoon white vinegar or lemon juice. Let it sit for 5 minutes before using. This gives the same tang and tenderness.
• Butter: Use an equal amount of margarine or vegetable oil for a lighter texture. Oil will make the cake slightly more moist.
• Red food coloring: For a natural version, try beetroot powder or pomegranate juice—these add color and a hint of earthy sweetness.
• Cream cheese: Substitute with mascarpone for a milder, creamier flavor, or use vegan cream cheese for a dairy-free option.
• Flour: If you’re gluten-free, replace it with an all-purpose gluten-free flour blend—just ensure it includes xanthan gum for structure.
How to Make Red Velvet Cake
Ready to bake? Here’s how to turn simple ingredients into a showstopping Red Velvet Cake that’ll steal the spotlight!
- Preheat your oven: Set it to 350°F (175°C). Grease and line two 9-inch round cake pans with parchment paper for easy release.
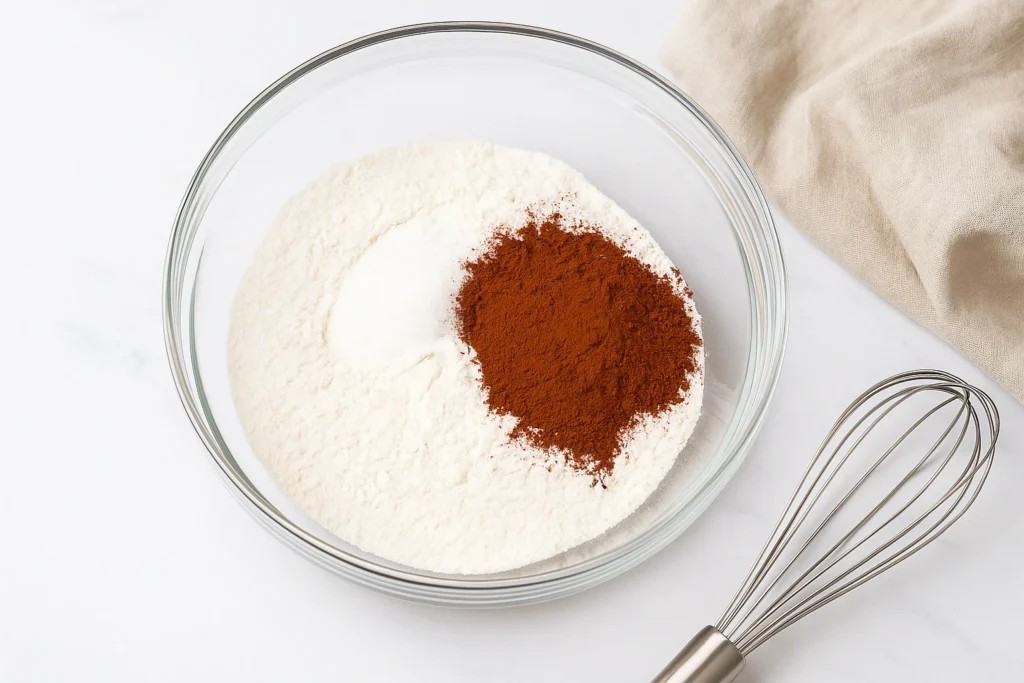
- Mix the dry ingredients: In a bowl, whisk together the flour, sugar, cocoa powder, and a pinch of salt until fully combined.
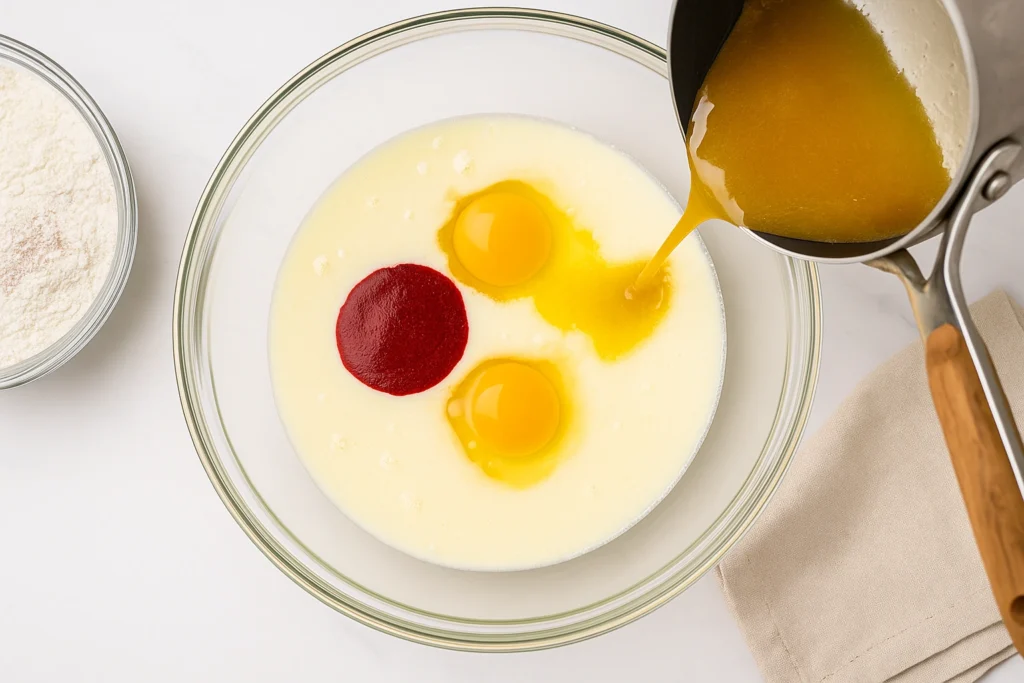
- Prepare the wet ingredients: In another bowl, beat the eggs, buttermilk, melted butter, and red food coloring. Mix until smooth and evenly colored.
- Combine the mixtures: Gradually add the dry ingredients to the wet ingredients, mixing just until smooth. Don’t overmix—overworking the batter can lead to a dense cake.
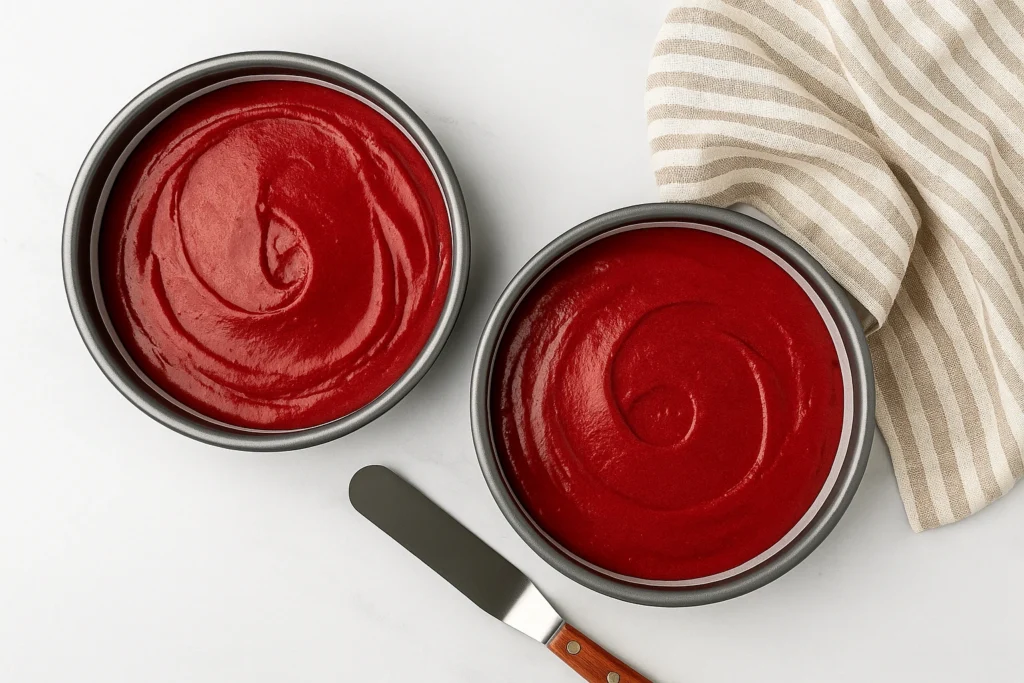
- Bake the cake layers: Divide the batter evenly between the pans and bake for 25–30 minutes or until a toothpick inserted in the center comes out clean.
- Cool completely: Let the cakes cool in the pans for 10 minutes before transferring them to a wire rack to cool completely.
- Prepare the Cream Cheese Frosting: Beat the softened cream cheese and butter until creamy. Add powdered sugar gradually, then mix in vanilla extract until fluffy and smooth.
- Assemble the cake: Spread a generous layer of Cream Cheese Frosting between the two cakes, then cover the top and sides. Use a spatula to create soft, elegant swirls.
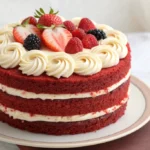
- Decorate: Garnish with red velvet crumbs, chocolate shavings, or fresh berries for an elegant finish.
Expert Tips to Make It Perfect
• Use room-temperature ingredients: Cold butter or cream cheese can create lumps. Let everything soften for a smooth, even texture.
• Avoid overmixing: Once you add flour, mix only until combined to keep the crumb tender.
• Chill the frosting slightly: A short chill (10 minutes) makes it easier to spread and pipe perfectly.
• Slice with a warm knife: Dip your knife in hot water, wipe it dry, and cut for neat, bakery-style slices.
Red Velvet Cake with Cream Cheese Frosting Variations
This classic Red Velvet Cake is a dream on its own—but let’s get creative! Try these irresistible twists that make each bake a new adventure.
• Red Velvet Cupcakes: Transform the batter into adorable cupcakes and top each with a swirl of Cream Cheese Frosting. Perfect for parties or gifting.
• Red Velvet Cheesecake: Add a layer of cheesecake between the cake layers for an ultra-decadent dessert that’s part cake, part cheesecake heaven.
• Chocolate-Chip Red Velvet Cake: Fold in mini chocolate chips for bursts of melty sweetness in every bite.
• Coconut Red Velvet Cake: Add shredded coconut to the batter and a sprinkle on top of the frosting for a tropical flair.
How to Store Red Velvet Cake
• Refrigerate: Keep your Red Velvet Cake covered in an airtight container for up to 5 days. The Cream Cheese Frosting stays fresh and delicious.
• Freeze: Wrap individual slices in plastic wrap and store in a freezer bag for up to 3 months. Thaw overnight in the refrigerator before serving.
• Room temperature: If your kitchen is cool, you can leave it covered for up to 24 hours—just avoid heat or direct sunlight.
Our Most-Loved Desserts
Turn dessert time into a little magic hour—warm, cozy, and totally irresistible. If you loved this Red Velvet Cake, these picks will keep the sweet vibes rolling:
- Luscious Biscoff Tiramisu (No-Bake)
- Delightful Blueberry Breakfast Cake
- Fluffy Strawberry Shortcake
- Irresistibly Decadent Salted Caramel Fudge
- 3-Ingredient Peanut Butter Fudge
Conclusion
This Red Velvet Cake is more than just dessert—it’s a celebration of flavor, color, and comfort in every bite. With its luscious layers of Cream Cheese Frosting and velvety crumb, it’s guaranteed to impress your guests and satisfy every sweet craving. Don’t wait for a special occasion—bake this masterpiece today and make any day feel extraordinary!Create new recipeEmbed existing recipe
PrintMoist & Fluffy Red Velvet Cake with Cream Cheese Frosting
A luscious, bakery-style Red Velvet Cake with a tender crumb and tangy Cream Cheese Frosting—rich cocoa notes, vibrant color, and swoon-worthy swirls for any celebration.
- Diet: Vegetarian
Ingredients
2½ cups all-purpose flour
1½ cups granulated sugar
1 tsp unsweetened cocoa powder
1 cup buttermilk
2 large eggs
2 tbsp red food coloring
18 oz cream cheese, softened
1 cup unsalted butter, softened (for frosting)
5 cups powdered sugar
2 tsp vanilla extract
Instructions
- Prep pans & oven: Preheat to 350°F (175°C). Grease, flour, and line two 9-inch round cake pans with parchment.
- Combine dry: In a large bowl, whisk flour, sugar, and cocoa until evenly blended.
- Whisk wet: In a second bowl, whisk buttermilk, eggs, and red food coloring until smooth.
- Make batter: Add wet to dry and stir just until no dry streaks remain. Do not overmix.
- Bake: Divide batter evenly between pans; bake 25–30 minutes until a toothpick comes out clean.
- Cool completely: Rest 10 minutes in pans, then turn out to a rack and cool fully.
- Make frosting: Beat cream cheese and butter until creamy; gradually add powdered sugar, then vanilla, until fluffy.
- Assemble: Layer with frosting between cakes; frost top and sides with swoops.
- Finish & serve: Chill 20 minutes for cleaner slices; garnish and serve.
Notes
- Room-temp dairy is key: Softened cream cheese & butter whip lump-free for ultra-silky Cream Cheese Frosting.
- Measure flour correctly: Spoon & level (or weigh) to avoid a dense Red Velvet Cake.
- Don’t overmix: Stir only until combined to keep the crumb tender and velvety.
Nutrition
- Serving Size: 1 slice
- Calories: 540
- Sugar: 46
- Sodium: 320
- Fat: 29
- Saturated Fat: 17
- Unsaturated Fat: 9
- Trans Fat: 0
- Carbohydrates: 65
- Fiber: 1
- Protein: 6
- Cholesterol: 120
Common Questions About Red Velvet Cake
The vibrant red hue traditionally comes from a reaction between cocoa and acidic ingredients like buttermilk and vinegar, though modern recipes often enhance it with food coloring.
Absolutely! Natural alternatives like beetroot powder or freeze-dried raspberry powder give a subtle red tint and add a hint of earthy flavor.
Its tangy, smooth flavor perfectly complements the mild chocolate taste of Red Velvet Cake, balancing sweetness with richness.
Yes! Bake the cake layers a day in advance, wrap them tightly, and refrigerate. Frost before serving for the freshest flavor.
Add colorful sprinkles, edible gold dust, or seasonal fruits like raspberries and strawberries for a vibrant, celebratory look.